
How to Add a Node to Your CmusicAI Wallet to Ensure Proper Syncing
If you’re facing issues with your CmusicAI wallet connectivity, such as slow syncing or no connection at all, adding nodes manually can be an effective solution. Here’s a step-by-step guide to help you ensure that your CmusicAI wallet connects smoothly to the network.
Step 1: Open Your CmusicAI Wallet
Launch the CmusicAI wallet on your computer. Make sure that you are using the latest version of the wallet software to avoid compatibility issues.
Step 2: Access the Console
Once your wallet is open:
- Navigate to the Help menu.
- Select Debug window. This will open a new window.
- Go to the Console tab within the Debug window.
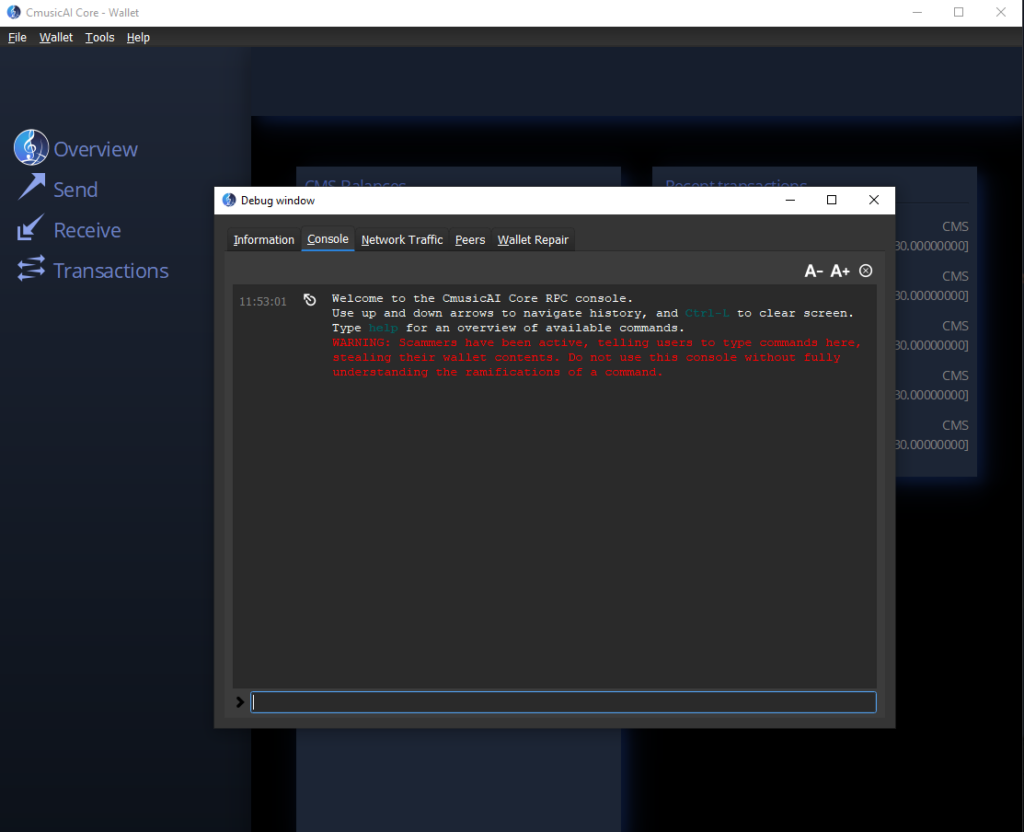
Console Window
Step 3: Add Nodes
In the console, you will need to enter commands to manually connect to nodes. Type the following command:
addnode 38.175.200.223 add
addnode 165.227.189.91 add
addnode 3.80.35.169 add
Step 4: Verify Connection
After adding nodes, you can check if your wallet has connected successfully by typing the following command in the console:
getpeerinfo
This command will display a list of all nodes that your wallet is currently connected to. If the newly added nodes appear in the list, your wallet has successfully established connections.
Step 5: Addressing Connectivity Issues
We are aware of the ongoing connectivity issues many users are facing, and we are prioritizing this problem to resolve it as soon as possible. Our team is working diligently to add more main nodes to ensure a more stable and reliable network for all CmusicAI users.
Conclusion
Manually adding nodes to your CmusicAI wallet can significantly improve connectivity and synchronization issues. If you continue to experience problems, stay tuned for updates as we enhance the network infrastructure. We appreciate your patience and support as we work to improve your experience.